Take a short few minutes to watch this video for the quickest way to become familiar with the administrative interfaces on OpenScholar.
For more information, you can read the written documentation below.
The Control Panel
The Control Panel (shown below) will appear at the left of the screen when you are logged into your site. Click the red arrow to open the Control Panel to navigate to various sections.
The Control Panel is the administrative section of your web site. Understanding the Control Panel will allow you to have command of your site’s apps, content, layout, widgets and much more. The next section will walk you through each part of the Control Panel. The Control Panel offers links to a number of administrative choices:
Site Content is the area where you can create, browse, and manage the content of your site. Options under Add and Import are reflected by which apps you've enabled. For instance if you've enabled the "Blog" app, you'll see Blog Entry listed as one of the options.
Menu lets you manage and customize all of your site's menus.
Appearance lets you enter the site's breadcrumbs, favicon, layout, subsite themes and select a theme for the site itself.
Taxonomy lets you create and manage your site taxonomies.
Settings gives you access to the Apps page as well as lets you manage your all of your enabled apps. It also lets you manage more advanced settings such as Google Analytics, domain, privacy, url redirects and more.
Help lets you access the OpenScholar documentation site. The Support section lets you submit a helpdesk ticket or browse training videos.
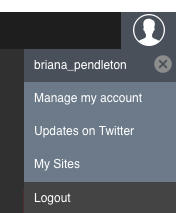
Your User Menu on the top right hand corner of the site displays options to manage your account, notifications, a list of all sites you are a member of, and lets you logout of the site.
Configuration Gear
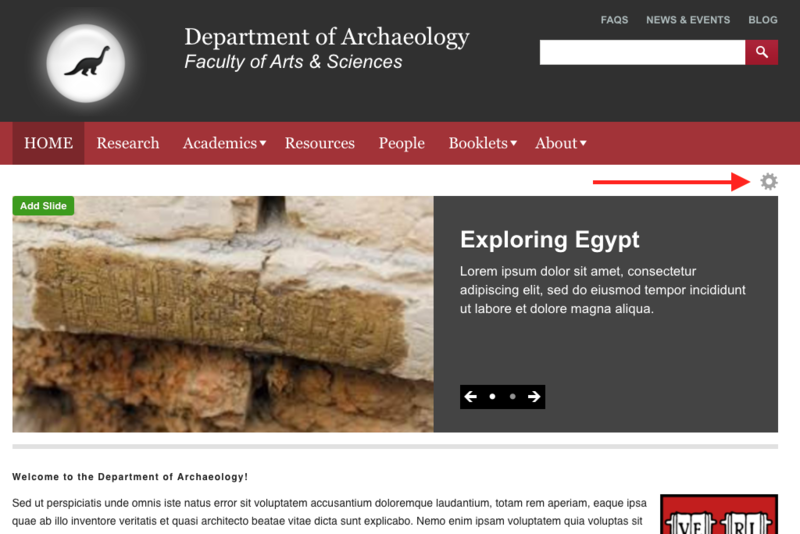
![]() Use these gears to configure the layout of the section or page you are on. These gears will also show up all over your site and are indications that you can edit or make changes.
Use these gears to configure the layout of the section or page you are on. These gears will also show up all over your site and are indications that you can edit or make changes.
List View
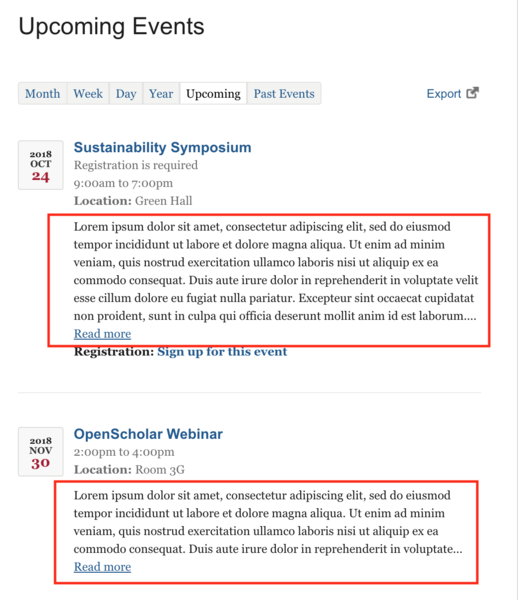
The list view is the how certain app pages displays its content by listing posts in a vertical format.
The default display style for a list view is the Teaser*.
*Except for the calendar
Apps Using the List View
-
Blog
-
Classes
-
Events (the “Upcoming” tab option is a list view)
-
FAQ
-
News
-
Links
-
Media Gallery
-
Presentations
-
Profiles
- Publications
Teaser
By default the system shows a shorter version of your posts in the list view. This text is known as the "teaser".
The content that shows in the teaser differs from app to app. When more content is available in the full post a “Read More” link will display. Learn how to Control the Teaser Length.
Updated: 16Oct18