The Blog App adds a blog section to your site.
Enabling the Blog App
Before adding any Blog entries, you must first make sure the app is enabled.
1. Click to expand Settings in the Control Panel
2. Click on Enable Apps
3. Search for BLOG.
4. Check the Enable box.![]()
5. Click Save.
Return to Home Page
Blog Settings
Once you enable the Blog App you can change the settings associated with the Blog Comments. To change the settings:
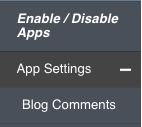
1. Click on the Settings area in the Control Panel
2. Click on Blog Comments under App Settings
3. Make changes to the settings
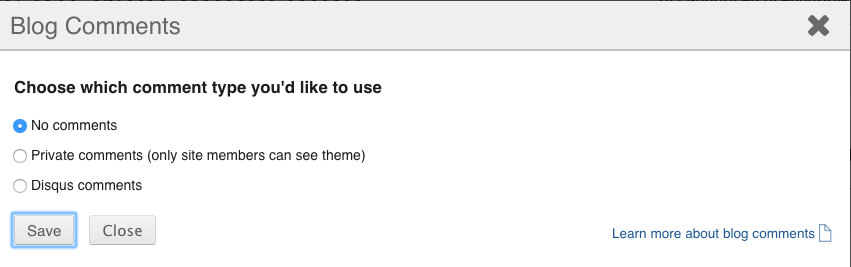
4. Click the Save button
Creating a Disqus Account:
1. To create a Disqus account, use the URL below :
https://disqus.com/profile/signup/intent/
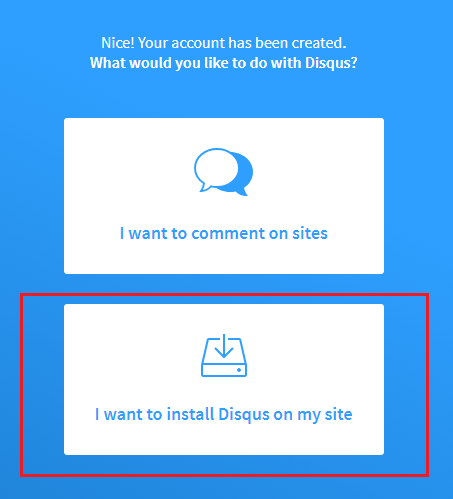
2. Then, click on "I Want to Install Disqus on my site" option.
3. Fill in the form and click on the "Create Site" button. You will be prompted to select a Disqus plan for your website.

4. Select the Drupal platform, then click on the Configure button.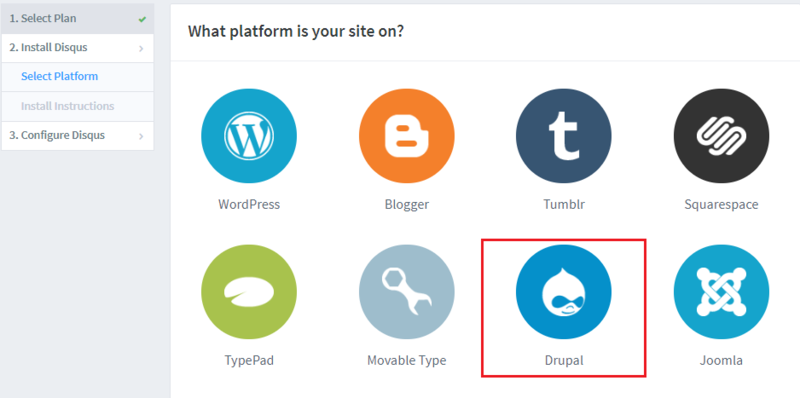
5. Click on "Configure your site's community settings"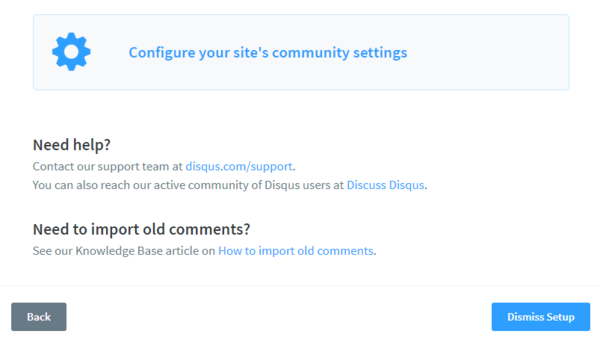
6. The website short name will be displayed, make a note of the short name and fill in the details of the form and click on Save button.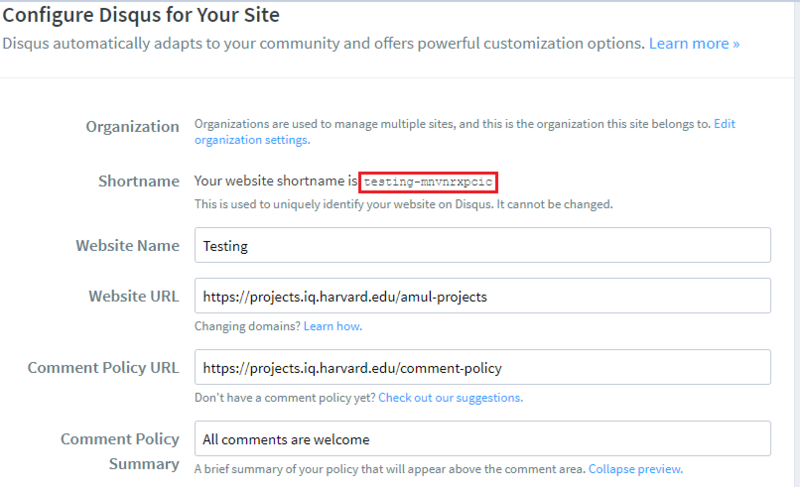
Adding Disqus Comments to your Website
1. Click on the Settings area in the Control Panel
2. Click on Blog Comments under App Settings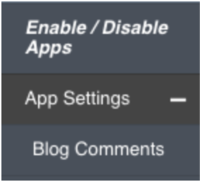
2. Select the option "Disqus Comments" and enter the Disqus short name in the given tab.
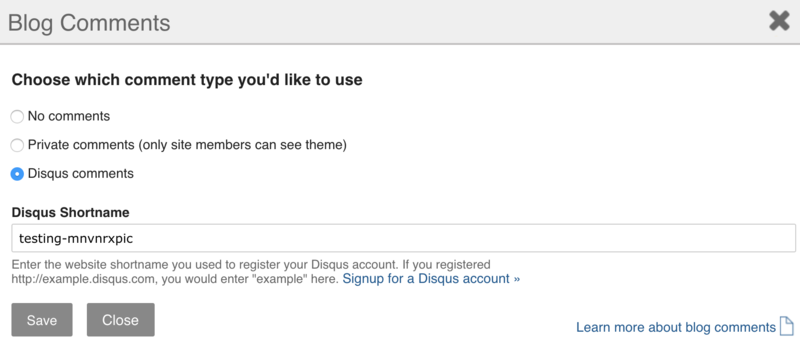
3. Click Save.
Note: Disqus Comments will work only in a Blog page
Adding the Blog to a Menu
If the Blog link does not appear in your menu, follow these steps:
- Go to the control panel and select Menus
- Once in the Menu area, Select Add New Link in the Primary (or any other) Menu
- You'll be prompted to choose an Item Type. Please select URL
- Click Continue
- Now give the Menu Item a title like "Blog" and enter the word "blog" (lower case) in the URL field
- Click Finish at the bottom of the page
-
The Blog link should now appear in the primary menu.
Creating Blog Entries
-
Click on ADD NEW > BLOG ENTRY
-
Fill out the blog entry form

-
When writing your blog, keep in mind that you can also attach files to you blog entries. For example, if you were writing some blog commentary on an article that is not published on the web, but you have the PDF file of the article, then you can attach the PDF file to the blog post.

- Save & view results
Content Revisions
The content revisions feature will allow you to save past versions of content (posts) on your website.
Importing a Blog
- Enable blog app.
- Click to expand Site Content in the control panel.
-
Click to expand Import and select Blog entry.
-
You may only upload a file in a CSV or RSS format only. The default will always be to import a CSV file. To make sure you are importing a file in the correct CSV file format, click the Download a template file to use as a guide.
NOTE: Importing more than 50 blog posts at one time is not permitted. If your CSV file is over 50 rows, you will receive an error. If your file has issues such as broken links, PDFs, etc. the file will still upload. You will be notified of any problems and can still view your post by going to content in the Control Panel and accessing the new post from there.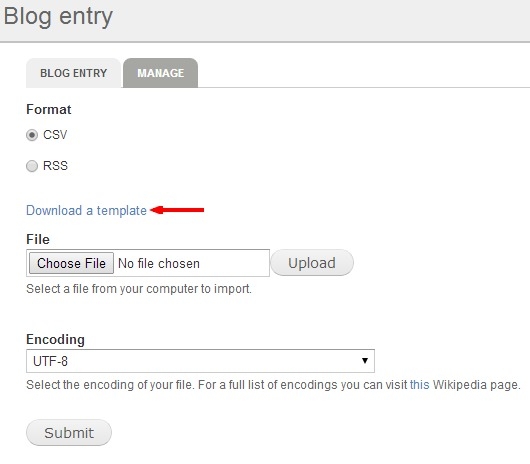
- Submit.
Importing a RSS Feed to your Blog
-
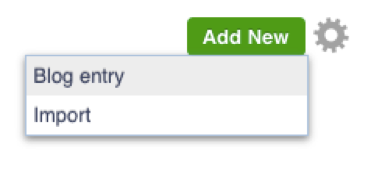
Click ADD NEW > IMPORT

- Click on the Manage tab & add the title and the correct URL for the feed. In this example, we are using a feed from the New York Times.
3. Submit.
4. In this next step you have the option of manually selecting which news stories you want to import onto your blog. Click on Import to add those stories to your blog.
4. Exit the Blog entry form after you have imported the chosen entries.
5. Go to Content in the control panel and the first entries will be your newly imported blog posts.

Your selected news stories will appear as their own separate blog posts.
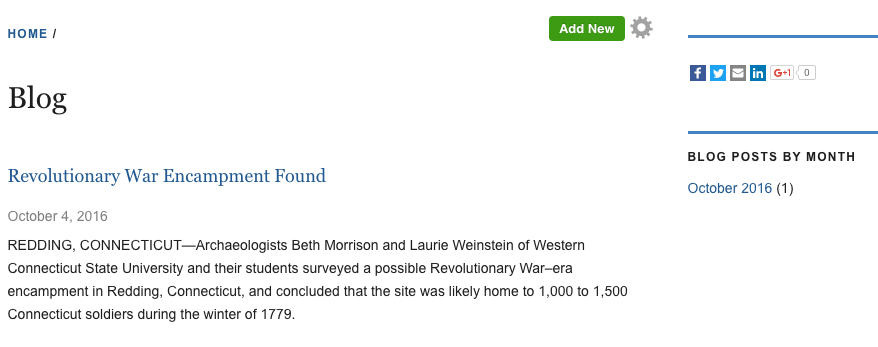
Blog Archive Widget
The blog archive widget titled, Blog posts by month appears to the left of your Blog landing page and displays the number of entries within the current and previous months in organized archive links. The widget will paginate after displaying five different months. 
Removing the Blog Archive Widget
To remove the widget, simply hover over the widget, click the grey gear, and select Remove Widget.
Viewing Blog entries
All of your blog entries can be viewed by clicking on "Blog" in the primary menu of your site. You can also view and manage blog entries by navigating to the Control Panel and clicking on the "Content" button. On the right column, under "Type" you will see a "Blog entry" link that will display a list of your blog entries.
Public versus Private Blog
You may want your blog to be viewable only by a specific or trusted audience. The blog app gives you the ability to create a private blog where access to view the blog entries is restricted to the user that you invite. For more on inviting user to your web site, see Adding Members.
To modify the Public/Private setting, go to the Control Panel, click on Settings, then click on the Enable/Disable Apps button and a list of available apps will be displayed. You can edit the apps public/private status by selecting "The Public" or "Site Members Only" from the corresponding drop-down menu.

Make sure to click Save at the bottom of the page.
Updated: 7Sept18